Organteq 2 - DAW Templates
This page is the companion to the Organteq 2 Video tutorial on its use in a Digital Audio Workstation (DAW).
Templates presentation
As Organteq is a multi-timbral and multi-channel virtual instrument, using it in a DAW may seem at first a bit circonvoluted for the unaccustomed user. In particular, the MIDI and audio routing, automation or registration changes.
This page gathers minimal project templates for some of the main DAWs (Reaper, Cubase, ProTools, Logic Pro, Ableton and Bitwig). Each of these templates contains:
- 5 MIDI tracks: 4 tracks per division (i.e. per keyboard), and 1 track for registration and automation
- a complete MIDI and Audio routing (each track emits MIDI message with a specific channel, from 1 to 5)
- automation examples
- registration and combination changes
For each DAW listed, you will find two templates where Organteq 2 is used either as
- a 2-chanel stereo output, directly sent to the master stereo output.
- a 8 channel (4*2-chanel stereo). Each organ division has its own audio track - thus allowing individual treatment of each division (panoramic settings, reverb, EQ, ...). The 4 divisional audio tracks are then sent to the master stereo output.
Note that since each DAW has its specificities in MIDI & audio routing, as well as auxiliary channels creation possibilities and settings, these templates show one solution - but you could probably achieve the same result in different ways. Hence, these template must not be saw as a ‘one-size-fits-all’ solution but as one possibility among others.
General tips on using Organteq 2 within a DAW
MIDI Mapping
In Organteq 2, the MIDI mapping is always embedded in the user preset (fxp file). In DAW projects, the MIDI mappings is also embedded in the plugin state saved by the DAW (and reload at the opening of the project). So you can easily share your project accros computers, everything important is embeded in the project.
The MIDI mapping of Organteq 2 must be coherent with the MIDI routing of your DAW project.
Combination Trigger
A combination allows one to perform several actions at the same time. It is a pre-recorded state of stop switches, coupler pedals and tremulant switches that you can trigger all together at any time. This can be seen as a trigger with no internal value. Therefore, there is no way to make automation of a trigger as most common plugin protocols (VST, VST3, AudioUnit, Pro Tools) don't support such an automation. The easiest way to trigger combination is to create a custom MIDI mappings: for instance Program Change 1 on the MIDI channel 5 would trigger Combination 1, Program Change 2 would trigger Combination 2, and so on (you can use Note On MIDI message instead of Program Change). You can also use the stepper "next/previous combination".
Then when you need to trigger the combination from the track: just add (or record) the corresponding MIDI message in your track at the proper time.
Templates

LOGIC:
When working in Logic, it is convenient to have mutliple tracks sending MIDI to Organteq. For that create a track and select "multi-timbral" instrument with 5 tracks: one track per keyboard plus one for the registration. Then, set the out MIDI channel of each Logic track to route each track to each virtual keyboard.
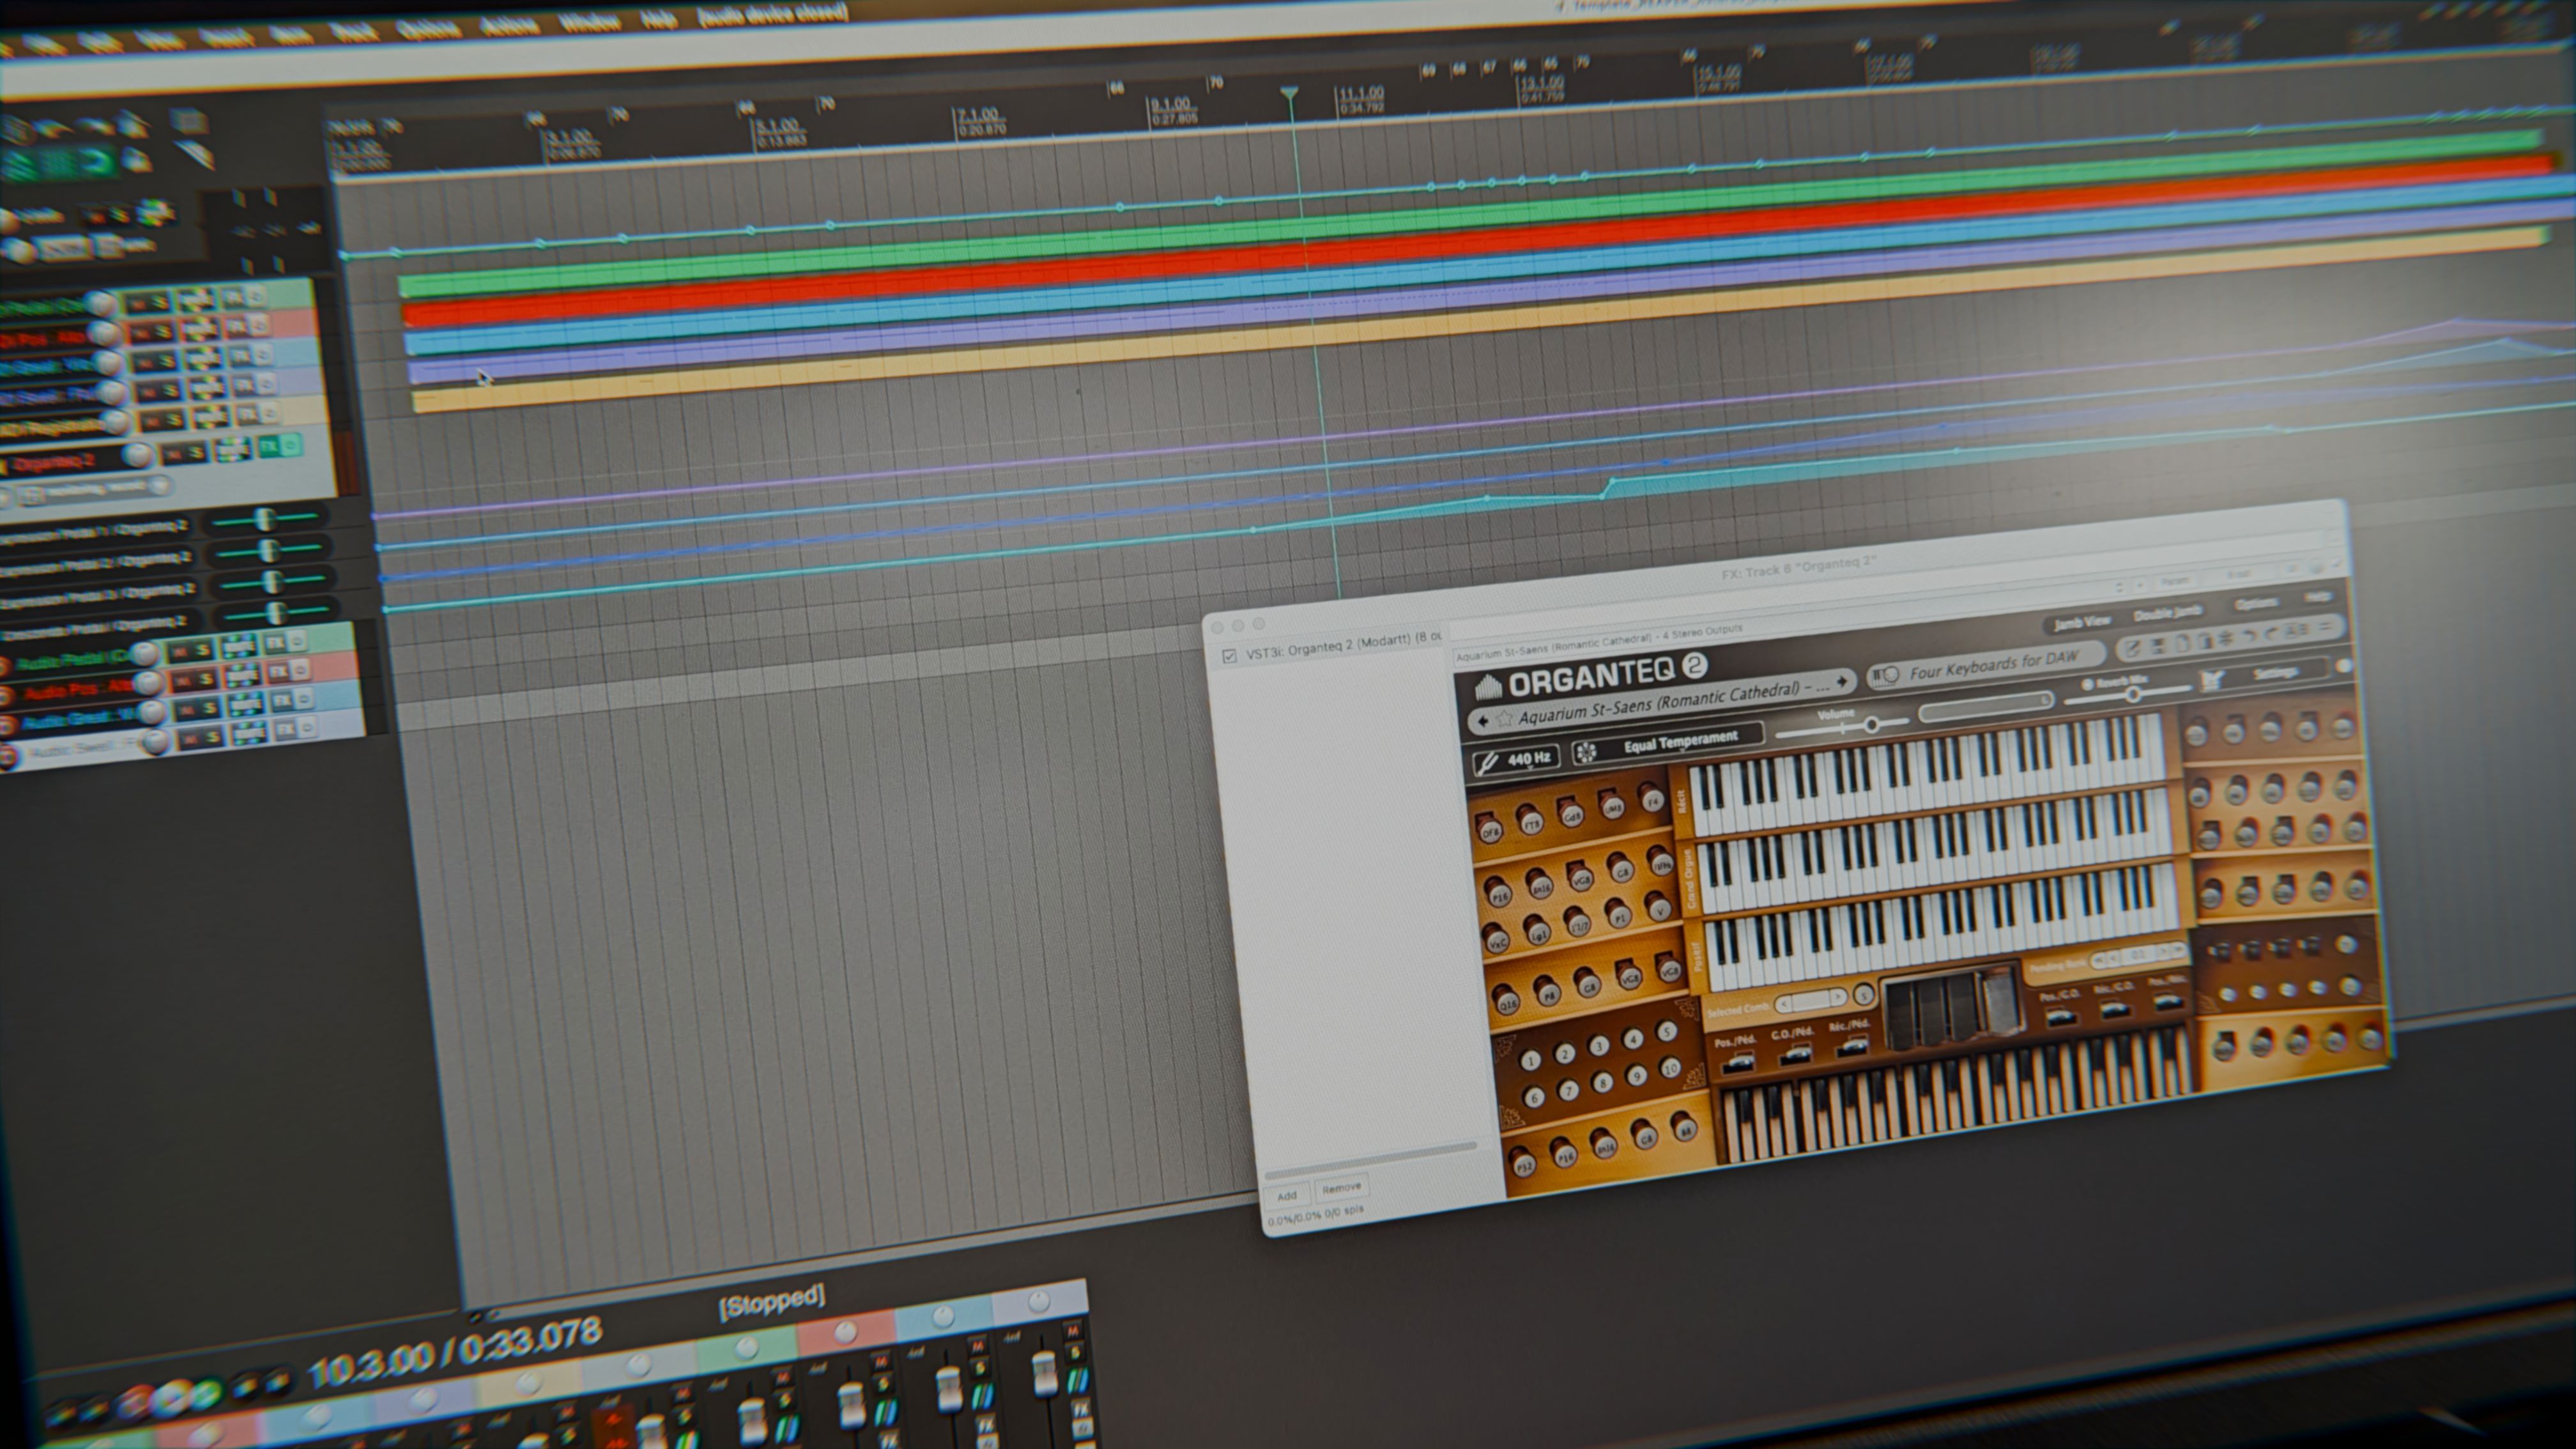
REAPER:
In REAPER, audio and MIDI routing can easily be achieved through the available routing matrix windows.

ABLETON:
In Ableton Live, each track can forward its MIDI content to another track. This is set directly from the track header. About the automation, note that you have to manually select which parameters are accessible for automation from the plug-in window by using the 'configure' button. By default, no parameter is accessible.

CUBASE:
In Cubase, each MIDI track can route its MIDI to another track with channel overiding options. This is used to route the five tracks to the plugin track. The automation of the pedals are directly implemented in the plugin track itself. In the 8 outputs version, the four stereo pairs are routed thanks to audio BUSes that were created from the 'Audio Connections' window.

BITWIG:
For the 8 channels output, the additional outputs must be activated on the plugin track: click on 'Show plug-in multi-out selector' and add the missing chains. Then four additional stereo audio tracks are used. For each of these additional tracks the audio input is choosen to be the corresponding output of the plug-in track.

PRO TOOLS:
MIDI and Audio routing is very straightforward for this DAW : you do not need to create auxiliary buses or channels to have a multi-stereo output, as long as the tracks are correctly created and instantiated.
For the multi-timbral and multi-audio output, you have to create 5 stereo 'Instrument Tracks'. Insert 'Organteq 2' as a 'multi-channel' plug-in on the first 'Instrument track'.
About the automation, note that you have to manually select which parameters are accessible to the user from the plug-in window. By default, no parameter is accessible.
All Project downloads
array(6) {
  ["Ableton_Live_11.3.11"]=>
  array(2) {
    [9]=>
    string(35) "Template_Live_Aquarium_2channel.als"
    [10]=>
    string(42) "Template_Live_Aquarium_4stereo_outputs.als"
  }
  ["Bitwig_5.0.9"]=>
  array(2) {
    [5]=>
    string(43) "Template_Bitwig_Aquarium_2channel.bwproject"
    [6]=>
    string(50) "Template_Bitwig_Aquarium_4stereo_outputs.bwproject"
  }
  ["Cubase_9.5"]=>
  array(2) {
    [7]=>
    string(37) "Template_Cubase_Aquarium_2channel.cpr"
    [8]=>
    string(44) "Template_Cubase_Aquarium_4stereo_outputs.cpr"
  }
  ["Logic_Pro_10.7.4"]=>
  array(2) {
    [2]=>
    string(43) "Template_Logic_Aquarium_2channel.logicx.zip"
    [3]=>
    string(50) "Template_Logic_Aquarium_4stereo_outputs.logicx.zip"
  }
  ["Pro_Tools_2023.9.0"]=>
  array(2) {
    [3]=>
    string(39) "Template_ProTools_Aquarium_2channel.ptx"
    [4]=>
    string(46) "Template_ProTools_Aquarium_4stereo_outputs.ptx"
  }
  ["Reaper_6.82"]=>
  array(2) {
    [3]=>
    string(37) "Template_REAPER_Aquarium_2channel.RPP"
    [4]=>
    string(44) "Template_REAPER_Aquarium_4stereo_outputs.RPP"
  }
}